
Today we will venture into the microcosm of Digidesign® Pro Tools 'EDIT TOOLS'. This is a continuation of software series for quick startup into the life of digital recording with computer-based audio gear.
Above is a screenshot from the top of a new Pro Tools® session- showing the 'edit tools' close to the transport section. Now for the quick start break down..
To explain the 'edit tools'- it's easier to just open up a new pro tools session- here's 1 with a 909 kick sample. The highlighted portion is a pre-recorded region with the 909 kick played from a Roland® Dr. Rhythm DR-770 drum machine.
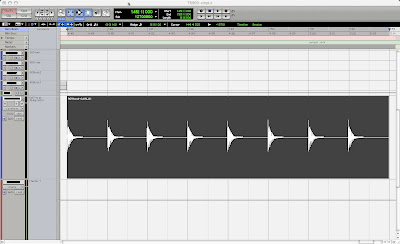
And here's a shot of the Digidesign® Pro Tools LE 7.3 editing tools you will use to cut up and manipulate audio files in your session, once you get going.

With the 'selector' tool, highlight the region to edit..
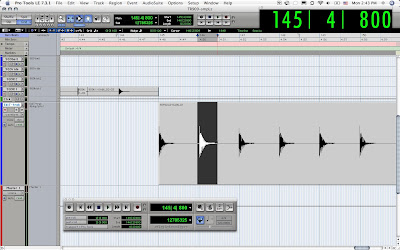
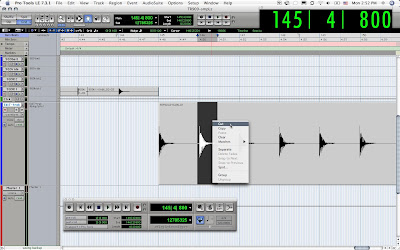
Right click [CNTL click] the selection and click "cut"..
now click in a spot in a new track and CNTL click, "paste"..
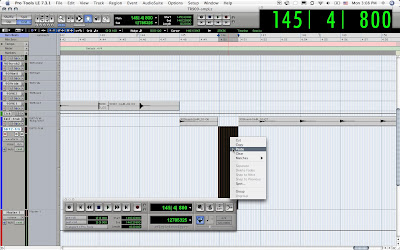
the copied region shows up in the track at that exact spot..
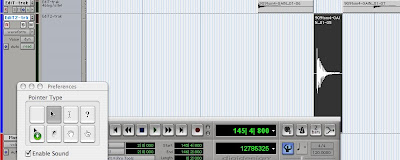
use the "grabber" tool to slip/slide the region around in the new track- and grid mode provides a visual guide to align beats with any song tempo set in transport bpm..
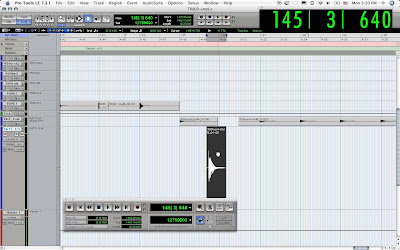
with the trimmer tool you can extend the region for more sample..
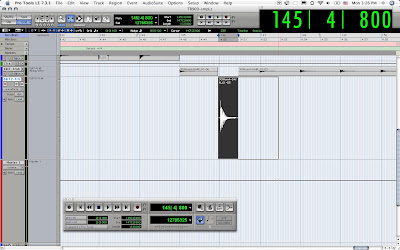
the "zoomer" tool will allow you to zero in or focus on a specific portion of the audio region that you select while using the zoom tool..
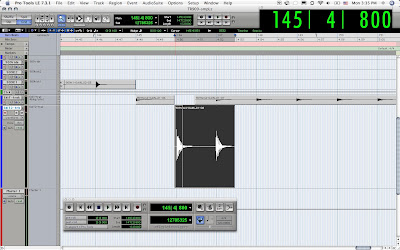
here is what the new zoomed region looks like..

Next, let's break down the "edit tools" section on the pro tools edit window..
1 "EDIT TOOLS"»

2 "ZOOMER" tool»

3 "TRIMMER" tool»

4 "SELECTOR" tool»

5 "HAND" tool»

6 "SMART" tool»

7 "SCRUBBER" tool»

8 "PENCIL" tool»

EDIT TOOLS at top of edit window..
- shuffle/spot/slip/grid section
- horizontal/vertical zoom section
- EDIT TOOLS section
- transport section on edit window

QUICK BUTTONS at below edit tools section..
- "Tab To Transients"
- "Keyboard Focus"
- "Link Timeline and Edit Selection"
- "Link Track and Edit Selection"
- "Mirrored Midi Editing"
- "Grid"
- "Nudge"
- "Cursor" position
TRANSPORT [floating window]

Tip: Hit the "PLAY" button to hear region playback!
Now go follow the "new session" quickstart guide article to get a recording session going, start recording a guitar track with a click track or play in some samples from a drum machine, and start playing with the EDIT TOOLS. Once you get started editing your own audio region files in a Pro Tools session, the knowledge will just ooze from your brain into you mouse-clicking finger tips. And you will soon find yourself well on your way to editing madness!
Have fun editing your way to digital geek heaven- and check back for the next installment of digital recording with the dog.. "How2 get a good input volume".
Peace out homedogs!
Mike the AudioK9


No comments:
Post a Comment